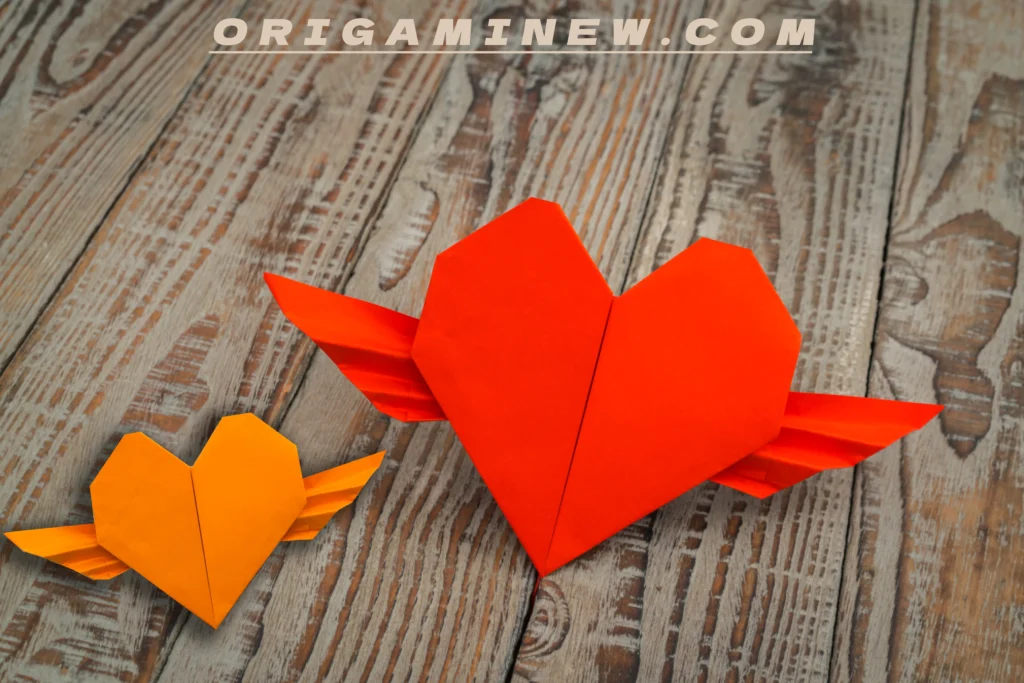

There’s something truly special about creating beautiful objects with nothing more than a simple sheet of paper. Origami, the traditional Japanese art of paper folding, allows us to transform the ordinary into the extraordinary. Among the many delightful origami designs, heart-shaped origami stands out as both a versatile and meaningful creation. Whether you’re looking to express your affection on Valentine’s Day, create handmade decorations for a wedding, or simply enjoy a relaxing crafting session, this heart-shaped origami guide will walk you through the process step by step.
Why Heart-Shaped Origami Is Worth Learning
Before we dive into the folding instructions, let’s explore why heart-shaped origami has captivated paper artists for generations:
- Universally symbolic: The heart shape represents love and affection across cultures
- Versatile uses: From bookmarks and gift toppers to garlands and mobiles
- Accessible craft: Requires minimal materials and no special tools
- Impressive results: Creates a polished, three-dimensional object that looks more complex than it is
- Stress-relieving: The precise folding process can be meditative and calming
Let’s begin creating your beautiful heart-shaped origami!
Materials You’ll Need
- Square paper (origami paper works best, but any square paper will do)
- Flat surface for folding
- Your fingers (and possibly a bone folder or ruler for crisp creases)
- Optional: red, pink, or patterned paper for a traditional heart look
Step 1: Start with a Square Paper and Mark the Fold Lines

Begin with a perfect square of paper. Traditional origami paper works wonderfully for this project, but you can also cut regular printer paper into a square if needed. For beginners, a larger square (around 6×6 inches or 15×15 cm) makes the folding process easier to manage.
Place your square paper on a flat surface with one corner pointing toward you, forming a diamond shape. While you don’t need to physically mark the fold lines (as shown in the reference image), you’ll want to create the fundamental creases that will guide your later folds.
First, fold the paper in half horizontally by bringing the left corner to meet the right corner, then unfold. Next, fold the paper in half vertically by bringing the top corner down to meet the bottom corner, then unfold again. These initial folds will create guidelines in the form of creased lines that intersect in the center of your square, forming a cross pattern when viewed from above.
Pro tip: Always make sharp, precise creases by running your fingernail or a bone folder along each fold. Clean creases make the final result much more professional-looking.
Step 2: Fold the Top Corner Down to Create a Triangle

Now that your square has the basic guiding creases, it’s time to begin forming the heart shape. With your paper still positioned as a diamond (corners pointing up, down, left, and right), take the top corner and fold it down toward the center of the square. Don’t fold it all the way to the bottom corner—instead, bring it approximately to the center point where your guideline creases intersect.
This fold creates a triangle at the top of your paper. The folded edge should be parallel to the bottom edge of your diamond. Press firmly along the fold to create a sharp crease. This triangle forms what will eventually become the top of your heart.
Pro tip: The size of this fold determines the proportions of your final heart. For a more elongated heart, fold the corner down just a little past the center point. For a rounder, fuller heart, fold it closer to but not beyond the center.
Step 3: Fold the Side Corners Inward Toward the Center

With the top triangle fold in place, it’s time to work on the sides of your heart. Take the left corner of your diamond and fold it inward so that the edge aligns with the center vertical crease line. Press to create a firm fold.
Repeat this process with the right corner, folding it inward toward the center line. When both sides are folded correctly, your paper should now resemble a house shape or a pentagon, with a flat bottom edge, two angled sides, and the triangle fold from step 2 forming the top.
Make sure these side folds are symmetrical—uneven folds will result in a lopsided heart. Take your time with this step as it establishes the basic structure of your heart shape.
Pro tip: Double-check the alignment of these folds before pressing down firmly. Both side folds should meet at the center line for perfect symmetry.
Step 4: Form the Basic Heart Shape by Folding the Side Sections

Now we’ll begin transforming our house-shaped paper into a recognizable heart. Look at the bottom corners of your current shape. You’ll want to fold these corners up and in toward the center, creating the rounded bottom of the heart.
Take the bottom left corner and fold it up diagonally so that the edge aligns with the left side of your shape. The exact angle isn’t as important as creating a fold that begins to round out the bottom of your heart. Repeat with the bottom right corner, making sure both folds are symmetrical.
After completing these folds, your paper should now clearly resemble a heart shape, though it may still need some refinement. The bottom of the heart should appear curved (formed by your diagonal folds), while the top should have the distinctive indentation in the center.
Pro tip: If your heart’s bottom still looks too pointed rather than curved, you can make additional small folds to smooth out the curve.
Step 5: Refine the Heart Shape with Additional Corner Folds

At this stage, your heart is taking shape, but we want to ensure it has those classic rounded lobes at the top. To achieve this, we’ll make some strategic folds along the top edges.
Look at the top left and right sections of your heart. These areas need to be rounded inward to create the two lobes that give hearts their iconic shape. Gently fold the top left edge inward toward the center of the heart, creating a slight curve. The fold should be subtle—not a sharp crease but rather a gentle rounding.
Repeat this process on the top right side, ensuring both folds are symmetrical. These folds should curve inward, enhancing the heart’s indentation at the top.
Pro tip: These refinement folds require a lighter touch than previous steps. Think of them as gentle curves rather than sharp creases. You can adjust and readjust until you achieve the heart shape that looks best to you.
Step 6: Complete the Final Heart Design

Your heart shape is now essentially complete! In this final step, you’ll want to make any last adjustments to perfect your design and ensure it holds its shape well.
First, flip the heart over and examine it from both sides. Choose which side looks best to be the front of your heart. Next, reinforce all the creases by gently running your finger or bone folder along each fold line. This helps the heart maintain its shape.
If you want your heart to have more dimension, you can gently curve the two top lobes outward to give the heart a more three-dimensional appearance. For a flatter heart that’s perfect for cards or bookmarks, simply press it between the pages of a book for a few minutes.
Pro tip: For a special touch, you can add small decorative folds or tucks to personalize your heart. Some origami artists add a small “tail” at the bottom or decorative creases along the edges.
Creative Ways to Use Your Heart-Shaped Origami
Now that you’ve mastered the art of folding paper hearts, here are some creative ways to use them:
- String multiple hearts together to create a romantic garland
- Attach them to greeting cards for a 3D effect
- Use them as gift toppers instead of bows
- Incorporate them into handmade bookmarks
- Create mobile decorations by hanging hearts of various sizes
- Arrange them in a frame for wall art
- Use them as place cards for special dinners by writing names on them
- Include them in scrapbooking projects
Variations to Try
Once you’ve mastered the basic heart, experiment with these variations:
- Two-toned hearts: Use dual-colored paper to create a heart with a different color on each side
- Patterned hearts: Try origami paper with patterns or designs for more visual interest
- Miniature hearts: Practice making tiny hearts for jewelry or confetti
- Puffy hearts: Modify the basic design to create a three-dimensional, inflatable heart
- Letter hearts: Fold a heart that opens to reveal a hidden message inside
Troubleshooting Common Issues
- Asymmetrical heart: Return to step 3 and ensure your side folds are perfectly aligned with the center crease
- Paper tearing: Use a slightly heavier paper or fold with less pressure on the creases
- Heart won’t stand up: Add a small fold at the bottom to create a flat base
- Creases in unwanted places: Start over with fresh paper, being mindful of where you place your folds
Conclusion
Heart-shaped origami represents the perfect blend of simplicity and significance. With just six straightforward steps and a single sheet of paper, you’ve created a symbol of affection that can be shared, displayed, and treasured. The beauty of origami hearts lies not just in their elegant finished form, but in the mindful process of creating them.
Whether you’re making these hearts for a special occasion, to decorate your home, or simply to enjoy the meditative practice of paper folding, remember that each crease and fold is an expression of creativity and care. As you become more comfortable with the technique, you’ll find yourself folding hearts almost instinctively—a skill that brings joy not only to yourself but to everyone who receives your handcrafted creations.
What occasion will you make your heart-shaped origami for? Share your creations and ideas in the comments below!
Happy folding!