
Origami, the ancient Japanese art of paper folding, offers a wonderful way to create beautiful objects from simple materials. Among the many origami designs, the rose stands out as one of the most elegant and cherished. Whether you’re looking to craft a thoughtful gift, enhance your home decor, or simply enjoy a calming creative activity, learning how to make a rose out of origami paper can be incredibly rewarding. This step-by-step guide will walk you through creating your own stunning origami rose, complete with a stem, that looks remarkably like the real thing.
Why Make Origami Roses?
Before diving into the folding process, let’s consider why origami roses have captivated paper artists for generations:
- Lasting beauty: Unlike real flowers, paper roses won’t wilt or fade
- Eco-friendly: A sustainable alternative to store-bought decorations
- Personalized gifting: Handmade roses add a special touch to any present
- Mindfulness practice: The precise folding process can be meditative and calming
- Cost-effective: Create elegant decorations with minimal materials
- Allergy-friendly: Perfect for those who love flowers but suffer from pollen allergies
Let’s gather our materials and begin creating your beautiful origami rose!
Materials You’ll Need
- Two sheets of square origami paper (one for the flower, one for the stem)
- Flat surface for folding
- Patience and attention to detail
- Optional: bone folder or ruler for creating crisp creases
For the most realistic-looking rose:
- Red, pink, or burgundy paper for the flower
- Green paper for the stem
- Paper with different colors on each side works best
Step 1: Start with a Square Paper in Diamond Position
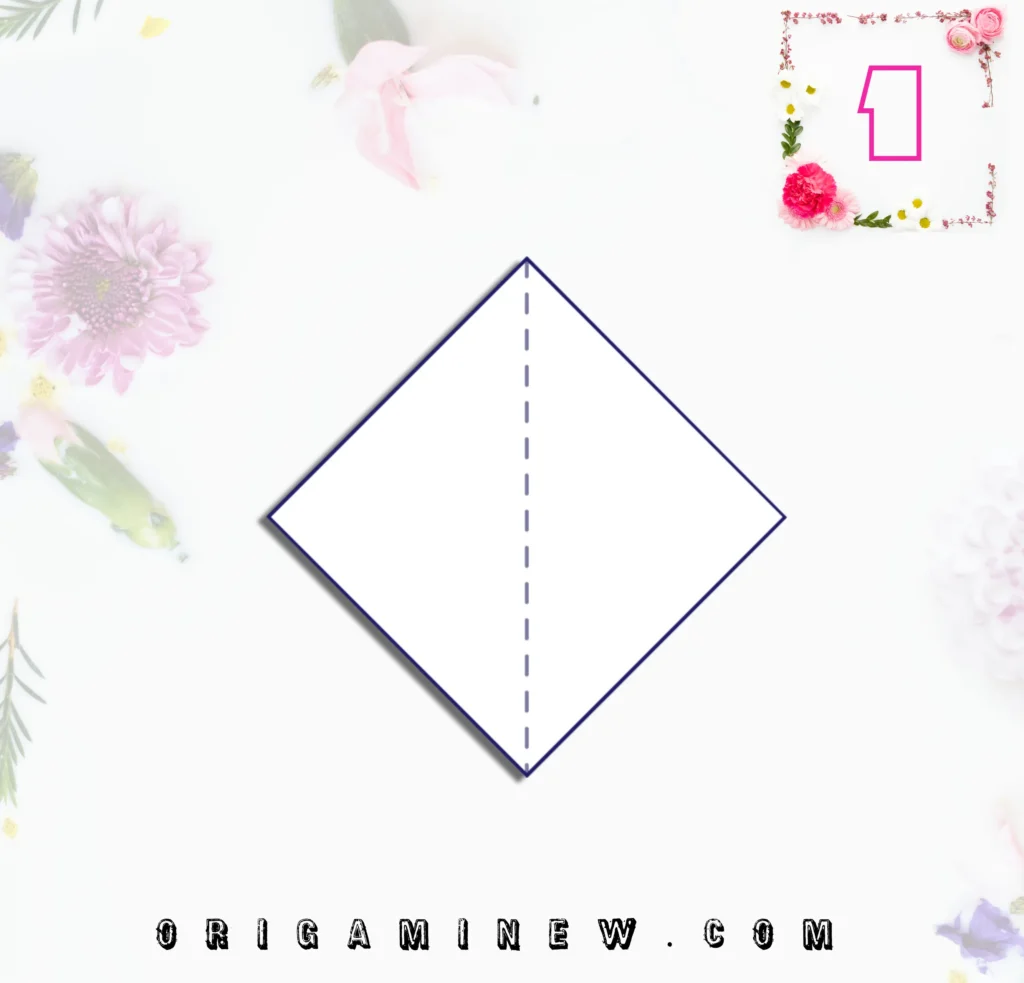
Begin with your square paper oriented so it looks like a diamond, with corners pointing up, down, left, and right. The color you want for the outside of your rose should be facing down (this will be the reverse side of your paper).
This orientation is crucial for achieving the proper rose shape. If your paper has different colors on each side, make sure the side you want visible in the final rose is facing down at this stage.
The size of your paper will determine the size of your finished rose. Standard 6-inch origami paper works well for beginners, but you can adjust according to your preference. Larger paper is typically easier to work with when learning.
Pro tip: Before making any folds, run your hands across the paper to smooth out any wrinkles, ensuring clean, precise folds throughout the process.
Step 2: Fold the Bottom Corner Up to Form a Triangle

Take the bottom corner of your diamond and fold it up to the top corner, creating a triangle. Make sure the edges align perfectly before creasing the fold with your fingernail or bone folder.
This foundation fold establishes the symmetry that will be essential for your rose. Press firmly along the crease to ensure it’s sharp and well-defined.
After completing this fold, you should have a triangle with the colored side of your paper (the one you want for your rose’s exterior) now showing on the outside.
Pro tip: The quality of this initial fold affects all subsequent steps, so take your time to ensure perfect alignment of the corners and edges.
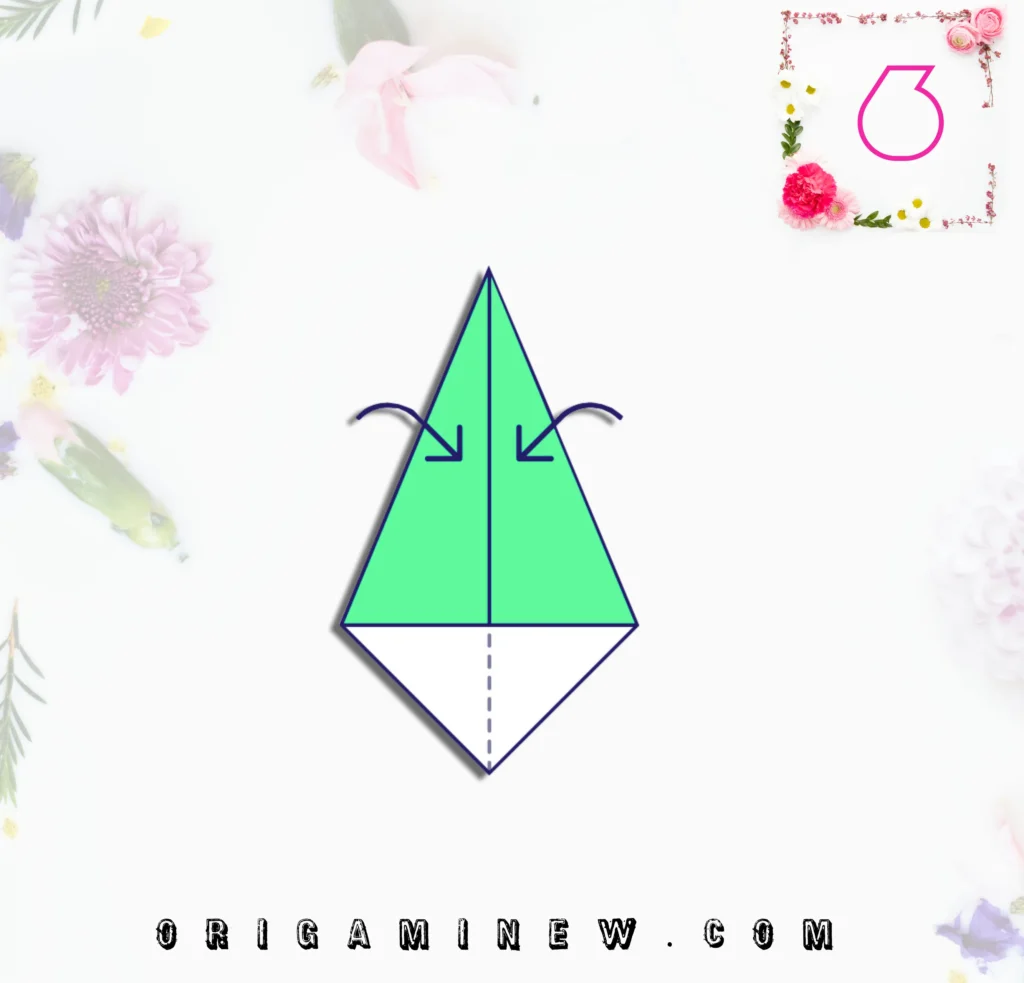
Step 3: Fold the Left and Right Corners Inward to Create Flower Petals
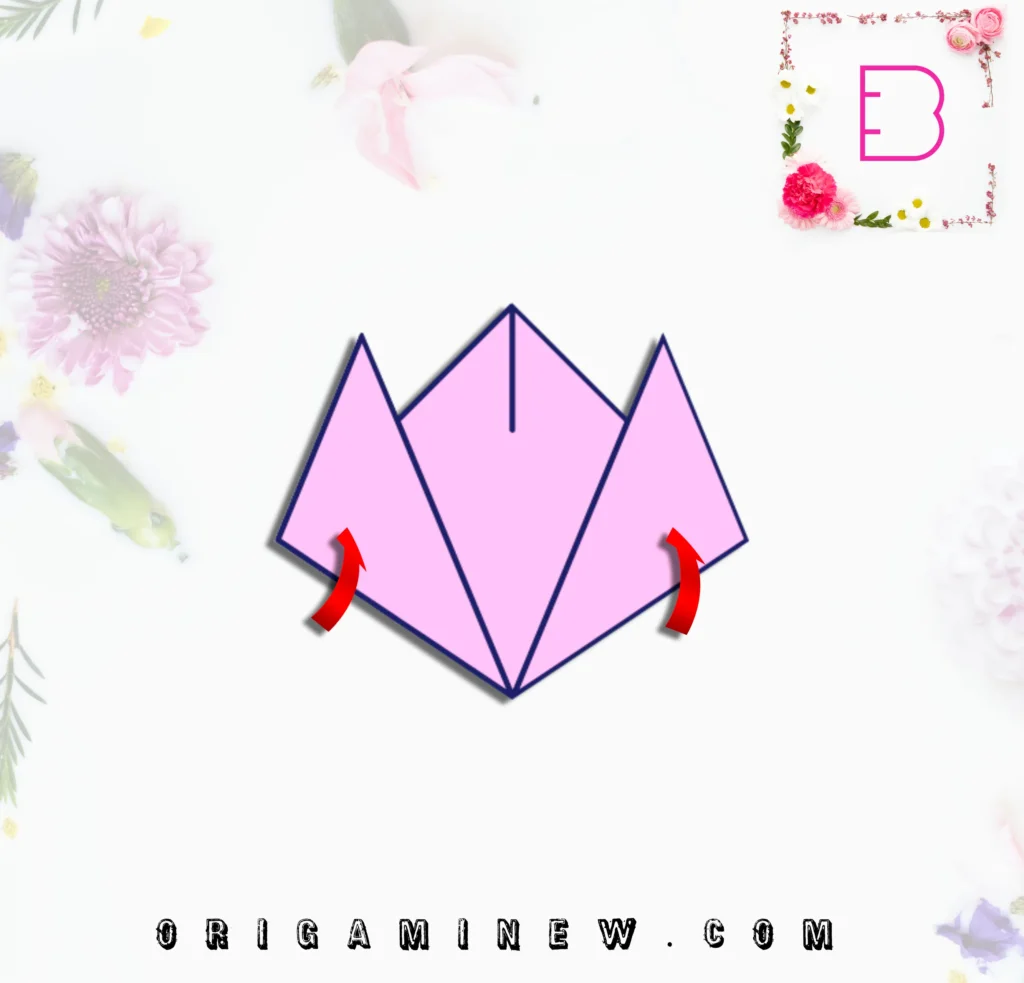
With your triangle positioned so the longest edge is at the bottom, take the left corner and fold it inward toward the center line, but not completely to the center. The fold should create what will become one side of your rose’s petals.
Repeat this step with the right corner, folding it inward toward the center line in the same manner. When done correctly, your paper should now resemble a flower shape with visible “petals” formed by these folds.
The exact angle of these folds will determine the final appearance of your rose. For a more open rose, keep the folds wider; for a tighter bud, bring the corners closer to the center.
Pro tip: Make these folds symmetrical for a balanced rose. You can adjust and readjust until you’re satisfied with the petal formation.
Step 4: Flip the Model Over and Adjust the Shape
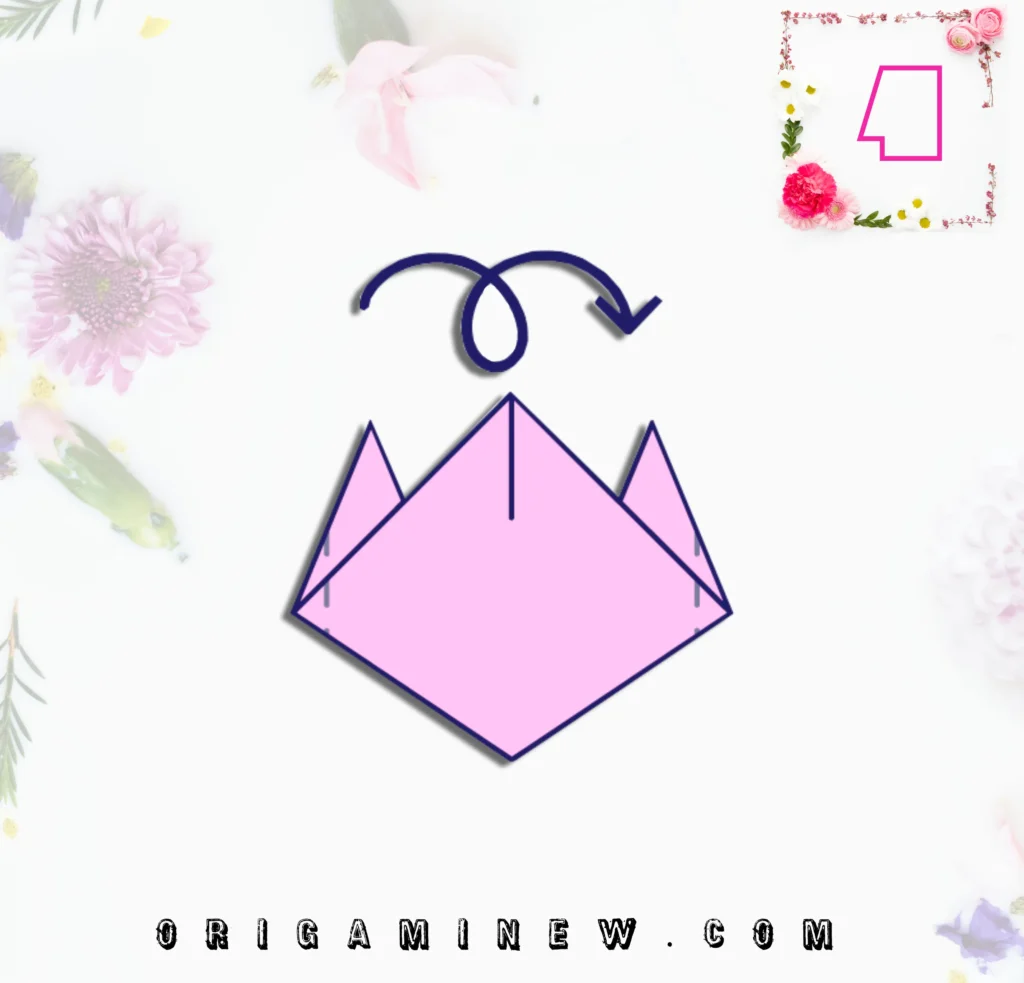
Carefully turn your model over so the folded side is now facing down. At this stage, you should see the basic shape of your rose forming, with defined edges creating petal-like features.
Gently adjust the shape as needed, ensuring the center point is well-defined and the outer edges curve naturally to resemble rose petals. This step is more about fine-tuning than making specific folds.
The paper will start to take on a three-dimensional quality during this step. You can enhance this by gently curving the outer edges of the petals with your fingers.
Pro tip: Handle the paper delicately during this step, as rough movements could distort your carefully created folds.
Step 5: Fold the Side Edges Inward to Complete the Flower
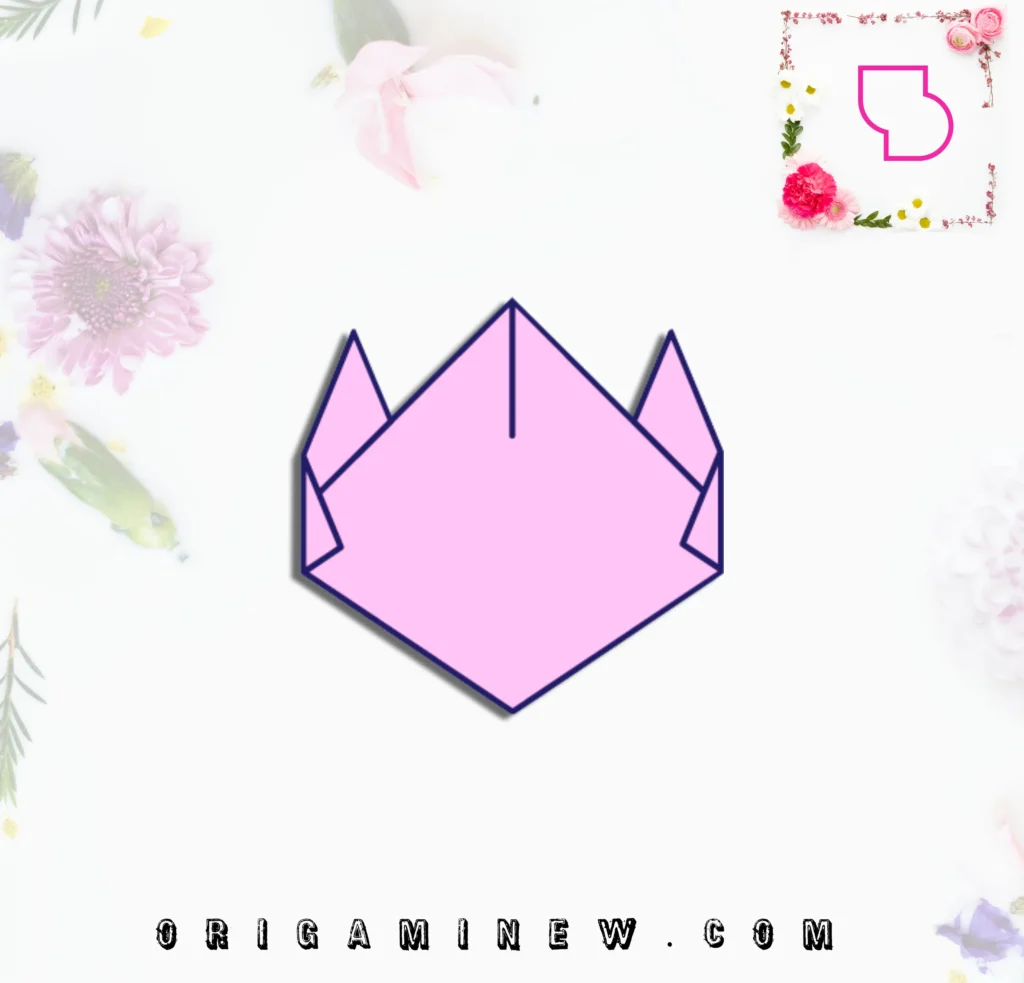
Look at the outer edges of your flower shape. To give the rose more dimension and a realistic appearance, gently fold these edges inward. These folds don’t need to be sharp creases—rather, they should create soft curves that mimic the natural curling of rose petals.
Work your way around the flower, creating these gentle folds uniformly to achieve a balanced look. The goal is to give your rose a spiral quality that resembles how real rose petals overlap and curve.
Once complete, your paper rose flower head should look remarkably like the real thing, with overlapping petals that create depth and dimension.
Pro tip: For an even more realistic rose, you can slightly curl the outer edges of the petals by running them between your thumb and a pencil, similar to curling ribbon.
Step 6: Create a Rectangle for the Stem
Now that your flower is complete, it’s time to create the stem. Take your second sheet of paper (ideally green) and fold it in half to create a rectangle. The longer this rectangle, the longer your stem will be.
If you’re using standard origami paper, folding it in half will create a rectangle with good proportions for a stem. For a longer stem, you might need to use a larger piece of paper or connect multiple stems together.
Pro tip: The stem doesn’t need to be perfectly proportioned to the flower—adjust based on how you plan to display your rose. For arrangements in vases, a longer stem works better.
Step 7: Fold the Rectangle Diagonally
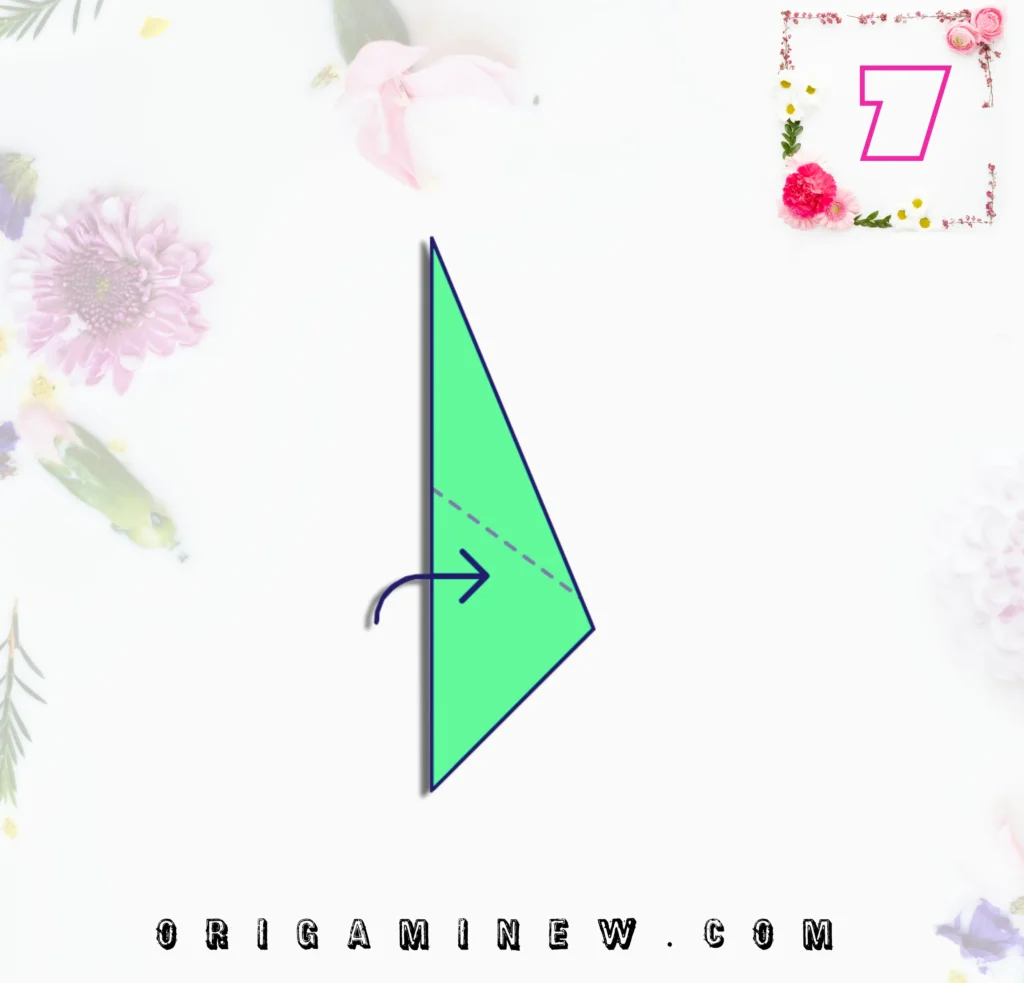
Position your rectangle so the open edge is facing to the right. Fold the top right corner down diagonally toward the left side, creating a slanted edge along the top of your rectangle.
This diagonal fold is what gives the stem its tapered appearance, mimicking how real rose stems narrow as they approach the flower. The angle of this fold will determine how dramatic the taper is.
After making this fold, your paper should now have a distinctive pointed end that will connect to the base of your flower.
Pro tip: For a more realistic stem, you can make a second diagonal fold from the bottom right corner, creating a completely tapered stem.
Step 8: Fold the Corners to Complete the Stem
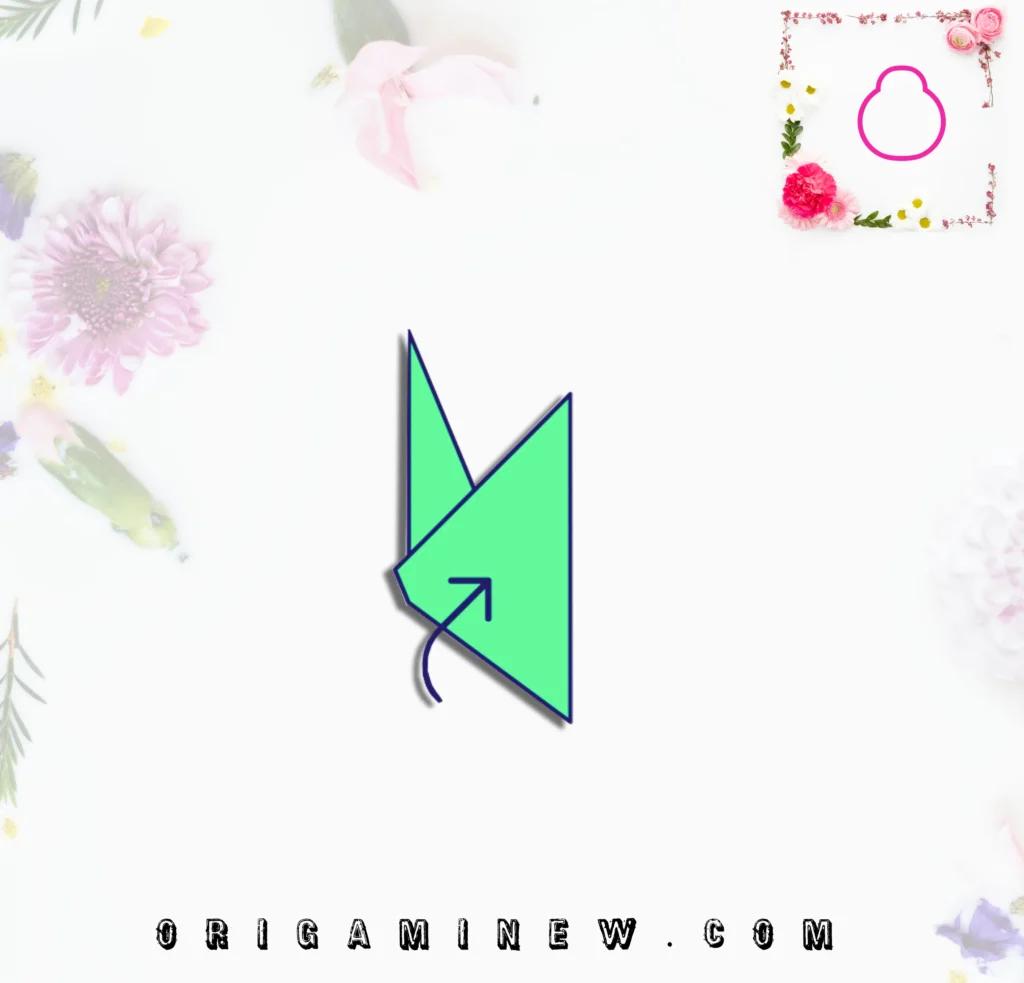
Look at the diagonal edge you created in the previous step. Fold both corners of this edge inward toward the center line of your stem. These folds should create a narrow column that will serve as your finished stem.
After making these folds, you may want to secure them by making a final fold along the length of the stem, tucking in any loose edges. This creates a clean, finished appearance and strengthens the stem.
Pro tip: For a sturdier stem, you can fold the entire stem in half lengthwise again after completing these corner folds.
Step 9: Attach the Flower to the Stem
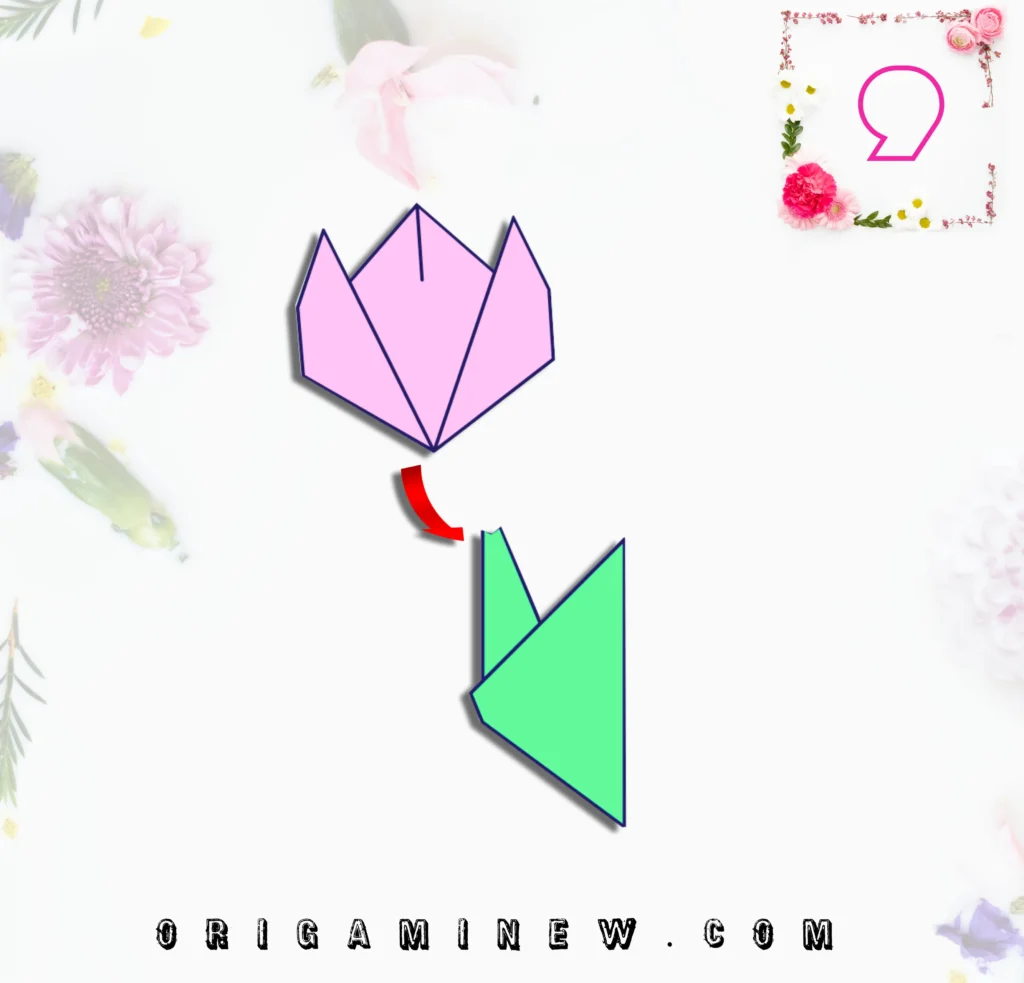
The final step is connecting your beautiful rose head to its stem. Insert the pointed end of the stem into the bottom of the flower, where there should be a natural pocket formed by your earlier folds.
You may need to adjust the tip of the stem or the base of the flower to achieve a secure fit. Once inserted, gently pinch the base of the flower around the stem to secure it in place.
For extra security, you can add a tiny dab of glue where the stem meets the flower, though purists might prefer to keep the rose completely adhesive-free.
Pro tip: If your rose seems top-heavy on its stem, you can create a second stem and insert it from the opposite direction for added support.
Creative Ways to Use Your Origami Roses
Now that you’ve mastered making roses out of origami, here are some inspiring ways to enjoy your creations:
- Create a never-wilting bouquet as a heartfelt gift
- Design a rose garland for party decorations
- Top wrapped presents with a single perfect rose
- Make place cards for dinner parties by attaching small name tags to the stems
- Create a shadow box display with roses in different stages of blooming
- Design a stunning wedding centerpiece that guests can take home as favors
- Use mini versions as embellishments for greeting cards
Variations to Try
Once you’ve mastered the basic origami rose, explore these variations:
- Kawasaki Rose: A more complex but incredibly realistic rose design
- Modular Rose: Created from multiple pieces of paper for added detail
- Kusudama Flower: Combines multiple folded units for a full, round bloom
- Paper Size Variations: Try tiny roses with 3-inch paper or statement blooms with 12-inch sheets
- Patterned Paper: Use patterned origami paper for unique, artistic roses
Troubleshooting Common Issues
- Paper won’t hold its shape: Use slightly heavier paper or reinforce creases
- Flower head too loose: Tighten folds near the center of the flower
- Stem too flimsy: Double the paper for the stem or insert a thin wire
- Difficulty with precise folds: Practice with larger paper before attempting smaller sizes
- Rose doesn’t look three-dimensional: Focus more on curving the petals outward in step 5
Conclusion
Creating roses out of origami paper combines the precision of paper folding with the beauty of floral design. With just nine straightforward steps and two sheets of paper, you’ve crafted a stunning bloom that captures the elegant essence of a rose without its fleeting nature.
The beauty of origami roses lies not just in their finished appearance but in the mindful process of creating them. Each fold represents a moment of focus and intention, resulting in a handcrafted treasure that brings joy both in the making and in the giving.
Whether you’re creating origami roses for special occasions, home decor, or simply for the pleasure of the craft, your paper blooms serve as a testament to the enduring appeal of this ancient art form. As you continue to practice, you’ll develop your own techniques and style, perhaps even creating variations that express your unique artistic vision.
What special occasion will you create your origami roses for? Share your creations and ideas in the comments below!
Happy folding!