
Introduction: Transform colorful paper into a stunning origami rainbow fan that captures all the colors of the spectrum. This delightful project uses multiple sheets of different colored paper to create a dimensional rainbow perfect for decorations or learning activities. Unlike traditional single-sheet origami, this design combines individual pieces for a spectacular result. Follow these nine simple steps to bring a burst of color to your paper crafting.
Step-by-Step Origami Rainbow Instructions:
Step 1: Prepare Your Paper For Origami Rainbow
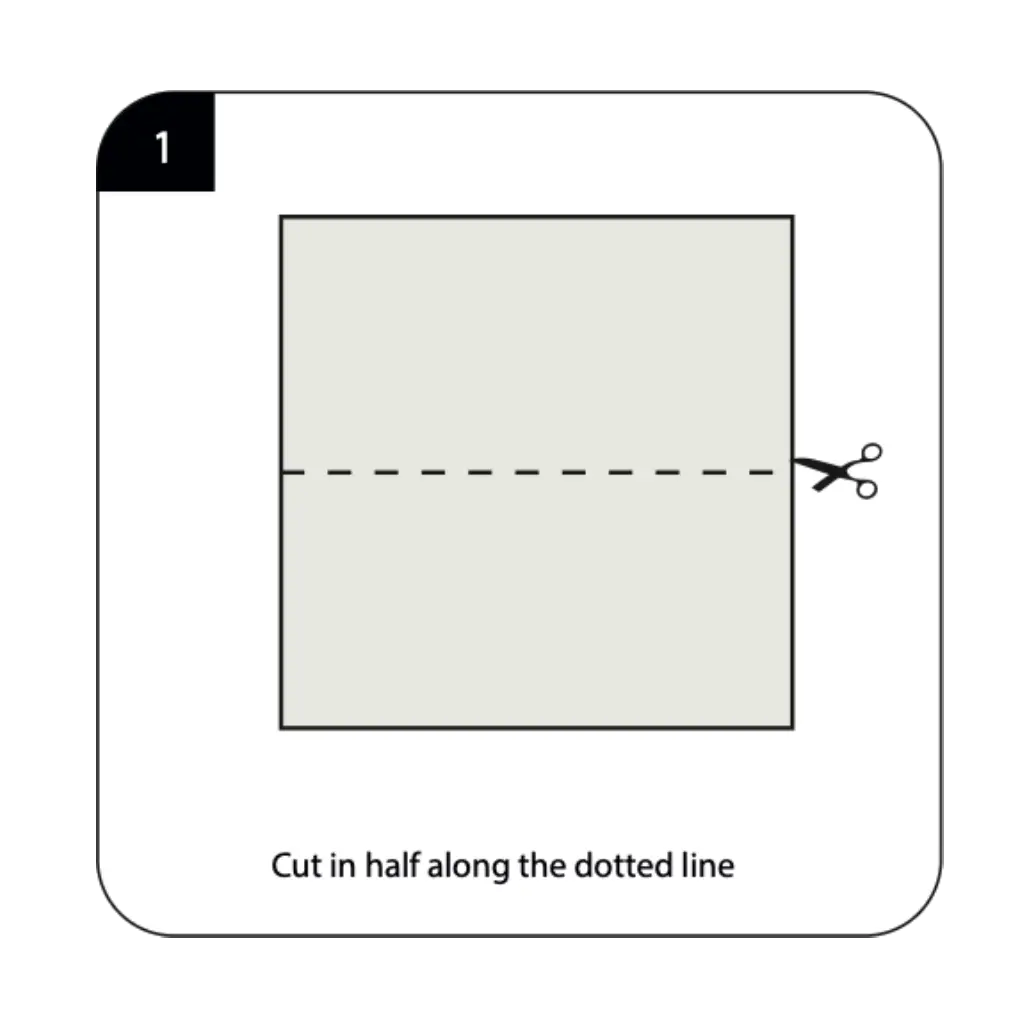
Start with a square sheet of origami paper and cut it in half along the dotted line using scissors. This creates the rectangular base needed for each color segment of your rainbow fan. Make sure your cut is straight and clean for the best results in your finished rainbow. You’ll need to repeat this cutting process for each color of the rainbow spectrum, preparing all your materials before beginning the folding process.
Step 2: Create the First Fold

Fold the rectangular paper upward along the dotted line, bringing the bottom edge to meet a specific point on the sheet. This initial fold establishes the width of your rainbow segments and determines the final proportions of your fan. Press the crease firmly to ensure it holds throughout the subsequent folding steps. This foundational technique is similar to methods used in origami basics for creating precise, repeatable patterns.
Step 3: Make the Second Upward Fold
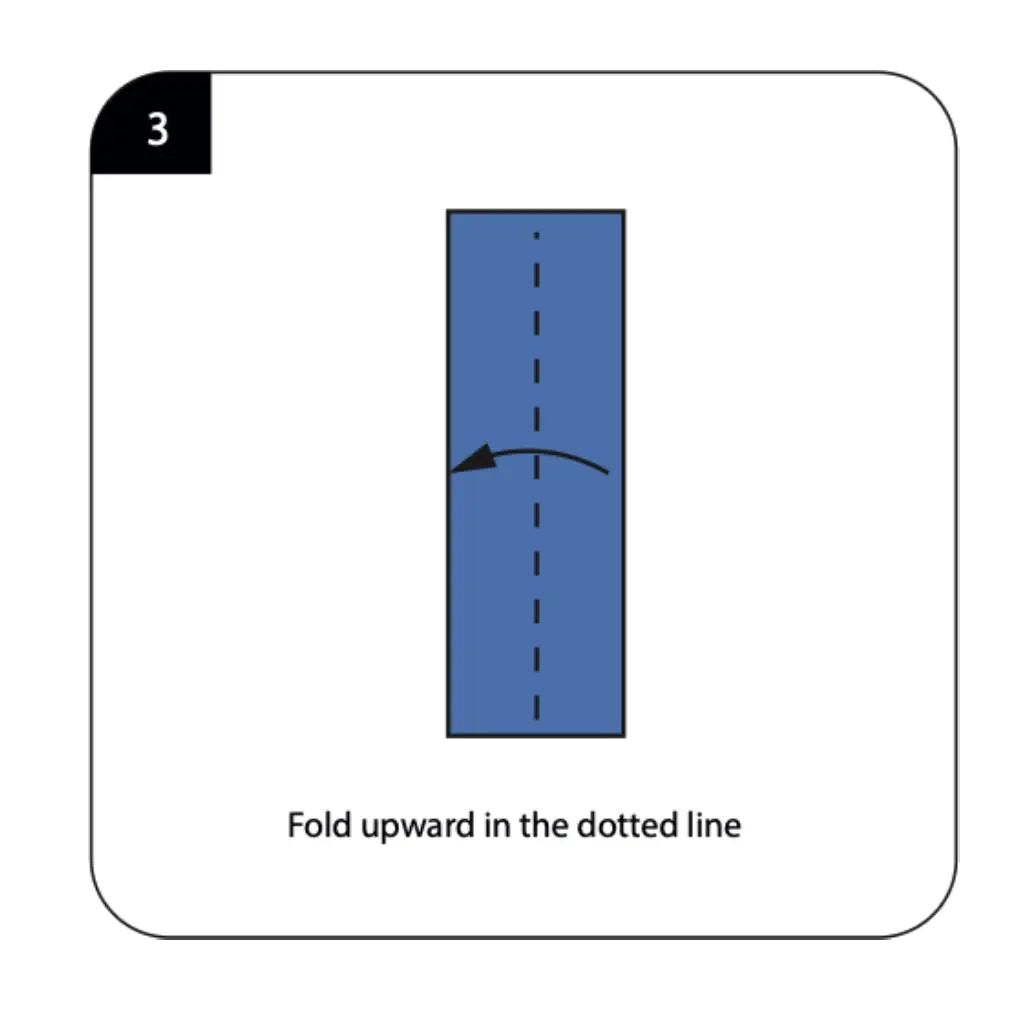
Continue by folding upward again along the next dotted line, building upon your previous fold. This second fold continues the accordion-style pattern that will eventually create the fan effect of your rainbow. Maintain consistent fold widths to ensure your rainbow segments align properly when assembled. The precision of these early folds directly impacts the uniformity of your finished origami rainbow.
Step 4: Open and Shape the Pocket
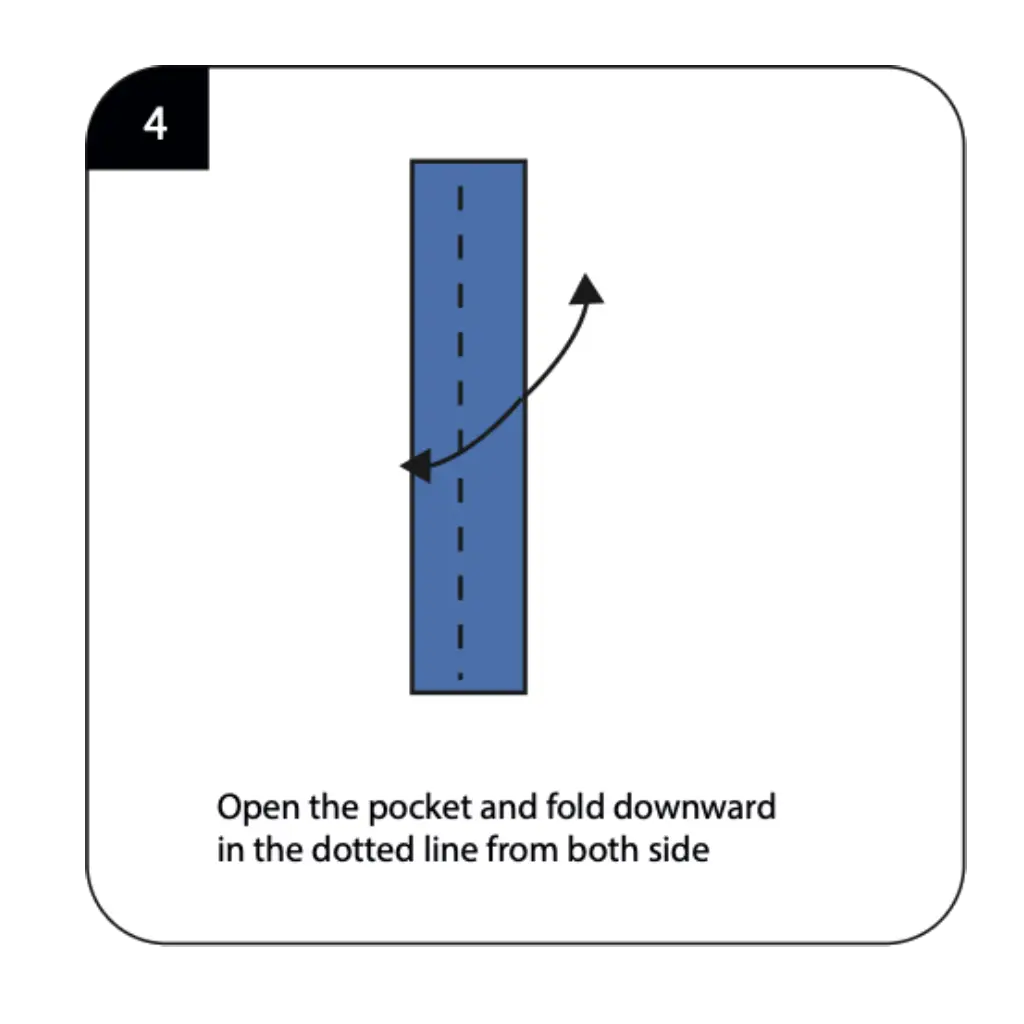
Open the pocket created by your previous folds and fold downward along the dotted line from both sides. This technique creates dimension in your paper and begins forming the pleated structure of the fan. The pocket-opening method adds depth to what would otherwise be a flat fold. This dimensional folding is essential for achieving the curved appearance that makes decorative origami pieces so visually appealing.
Step 5: Complete the Basic Segment For Origami Rainbow
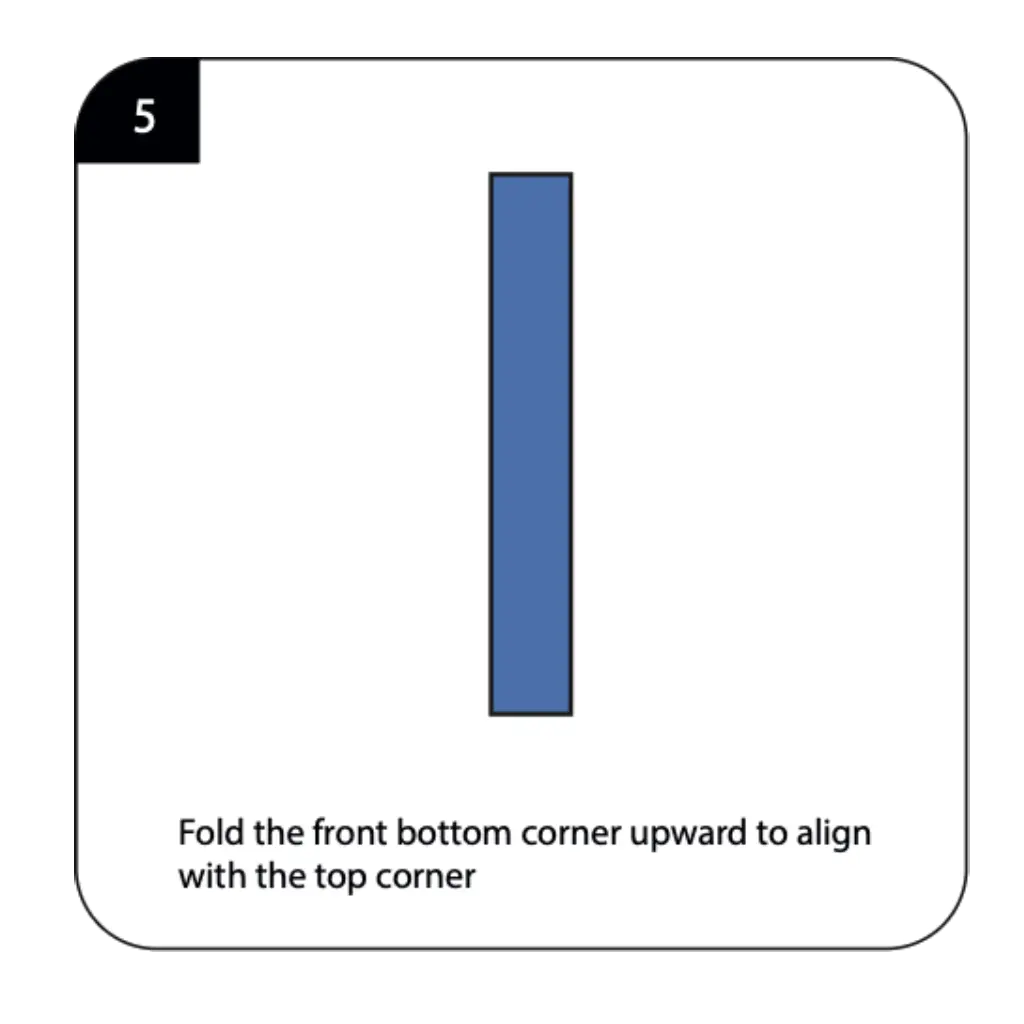
Fold the front bottom corner upward to align with the top corner, completing the basic triangular segment. This fold transforms your rectangular piece into the wedge shape needed for the rainbow fan design. Ensure the corners align perfectly for a clean, professional appearance in your finished rainbow. Each segment must be identical in shape for the colors to flow seamlessly when assembled together.
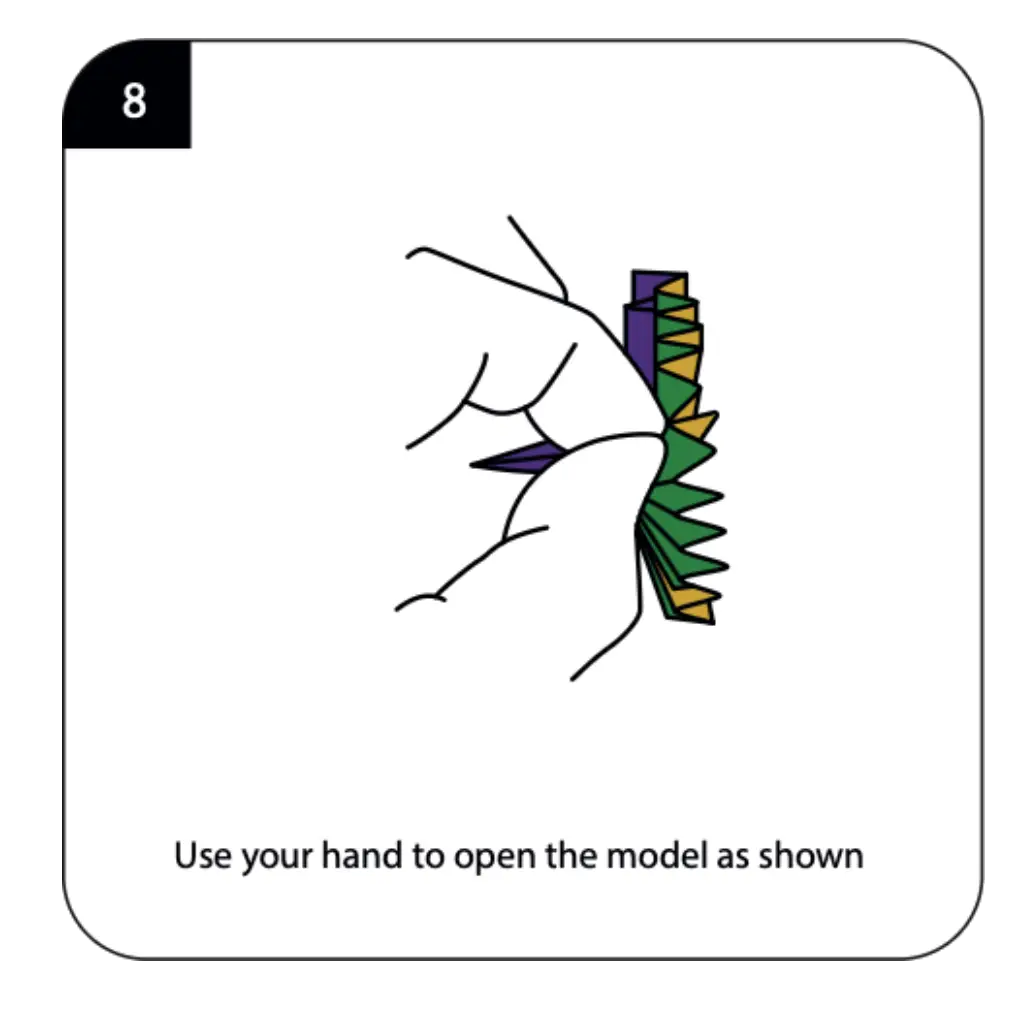
Step 6: Form the Fan Structure For Origami Rainbow
Use your hand to gently open the model as shown, spreading the folds to create the fan-like structure. This opening action reveals the pleated pattern you’ve been building through the previous steps. Be gentle to avoid tearing the paper while ensuring the folds spread evenly. The fan structure is what gives your origami rainbow its distinctive curved appearance and dimensional quality.
Step 7: Create the Zig-Zag Pattern For Origami Rainbow

Fold zig-zaggly along the existing creases to enhance the accordion effect of your rainbow segment. This zig-zag folding creates the fine pleats that allow your rainbow to curve naturally when assembled. Work carefully along each crease to maintain even spacing throughout the segment. This pleating technique is commonly used in advanced creative origami to add texture and flexibility.
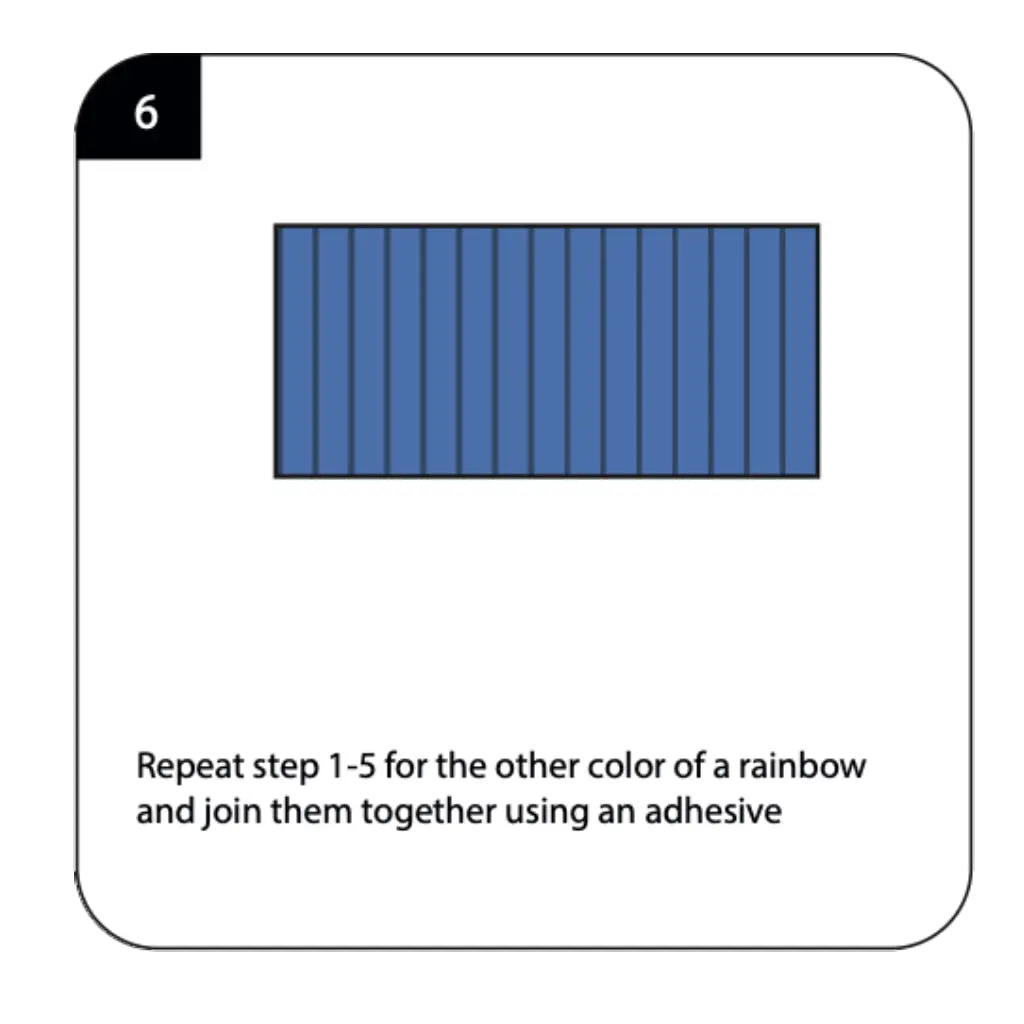
Step 8: Repeat for All Colors For Origami Rainbow
Repeat steps 1-7 for each color of the rainbow spectrum (red, orange, yellow, green, blue, indigo, violet). Each color segment should be folded identically to ensure they fit together perfectly when assembled. Take your time with each color to maintain consistency across all segments. This repetitive process is similar to modular origami where multiple identical units combine to create a larger design.
Step 9: Assemble Your Rainbow
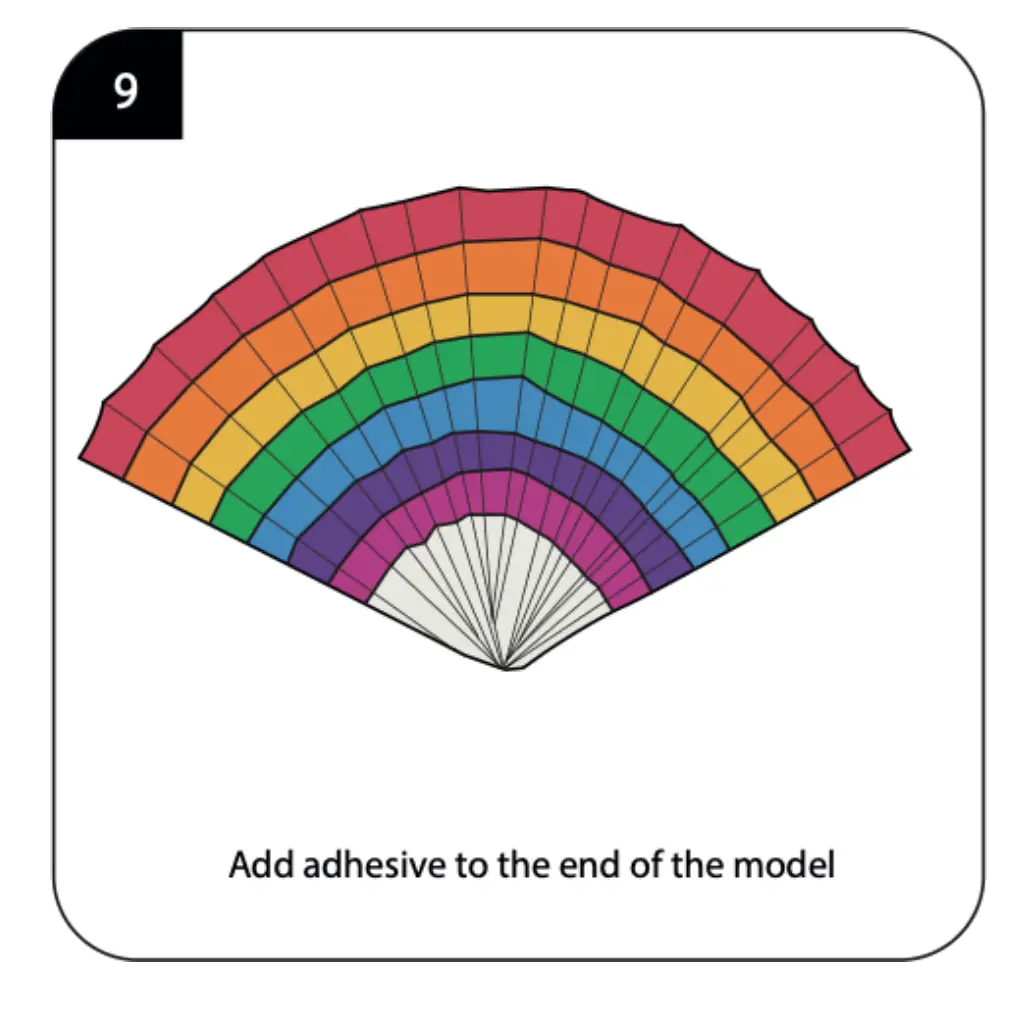
Join all the colored segments together using adhesive at the connection points to form the complete rainbow fan. Apply glue carefully to the end of each segment before attaching the next color in the proper rainbow sequence. Press firmly at each connection point to ensure a strong bond between colors. Your finished origami rainbow displays all the vibrant colors in a beautiful fan formation perfect for display.
Conclusion: You’ve successfully created a spectacular origami rainbow that showcases all the colors of the spectrum in a unique fan design! This eye-catching project makes wonderful decorations for classrooms, children’s rooms, or spring celebrations. Try varying the size of your initial paper squares to create different sized rainbows for stunning displays. With this technique mastered, you can create beautiful rainbow decorations that bring joy and color to any space.
