

Introduction
Origami, the ancient Japanese art of paper folding, has captivated enthusiasts worldwide for centuries. Among the many charming creations you can make with just a single sheet of paper is the delightful origami ladybird (also called ladybug in the United States). This step-by-step guide will walk you through creating your own perfect origami ladybird, from the initial folds to the finishing touches. Whether you’re a beginner looking for a simple project or an experienced folder seeking to expand your repertoire, this guide has everything you need to create this adorable insect.
Materials You’ll Need
Before diving into the folding process, gather these simple materials:
- A square sheet of paper (red on one side, white on the other works best)
- A flat surface to work on
- A pencil or marker for drawing the spots
- Patience and attention to detail
Detailed Step-by-Step Instructions
Step 1/2: Start with the white side of the paper facing up, and fold it in half diagonally.
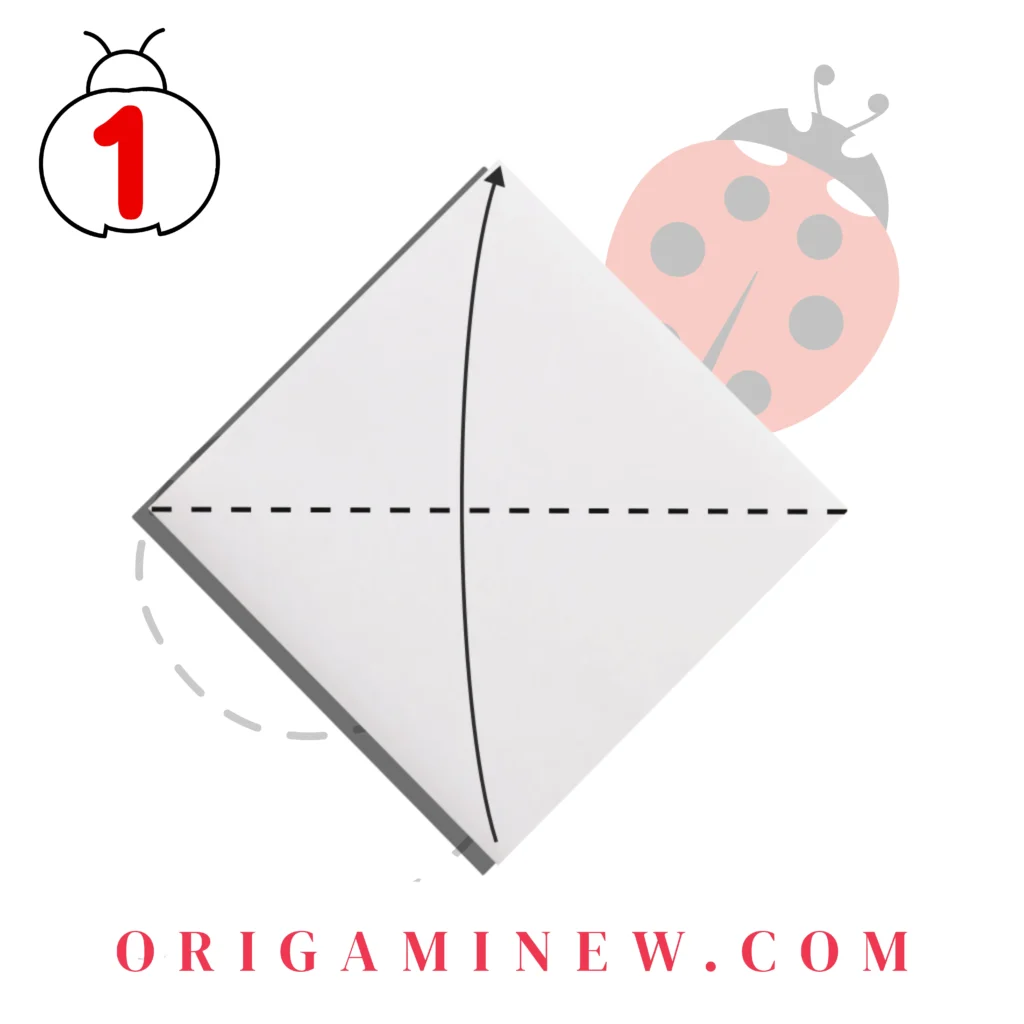
Begin with your square paper positioned with the white side facing upward. Take the bottom right corner and fold it diagonally to meet the top left corner, creating a triangle. Make sure the edges align perfectly, as precision in this first step sets the foundation for your entire ladybird.
Pro tip: Run your fingernail along the crease to create a sharp, clean fold.
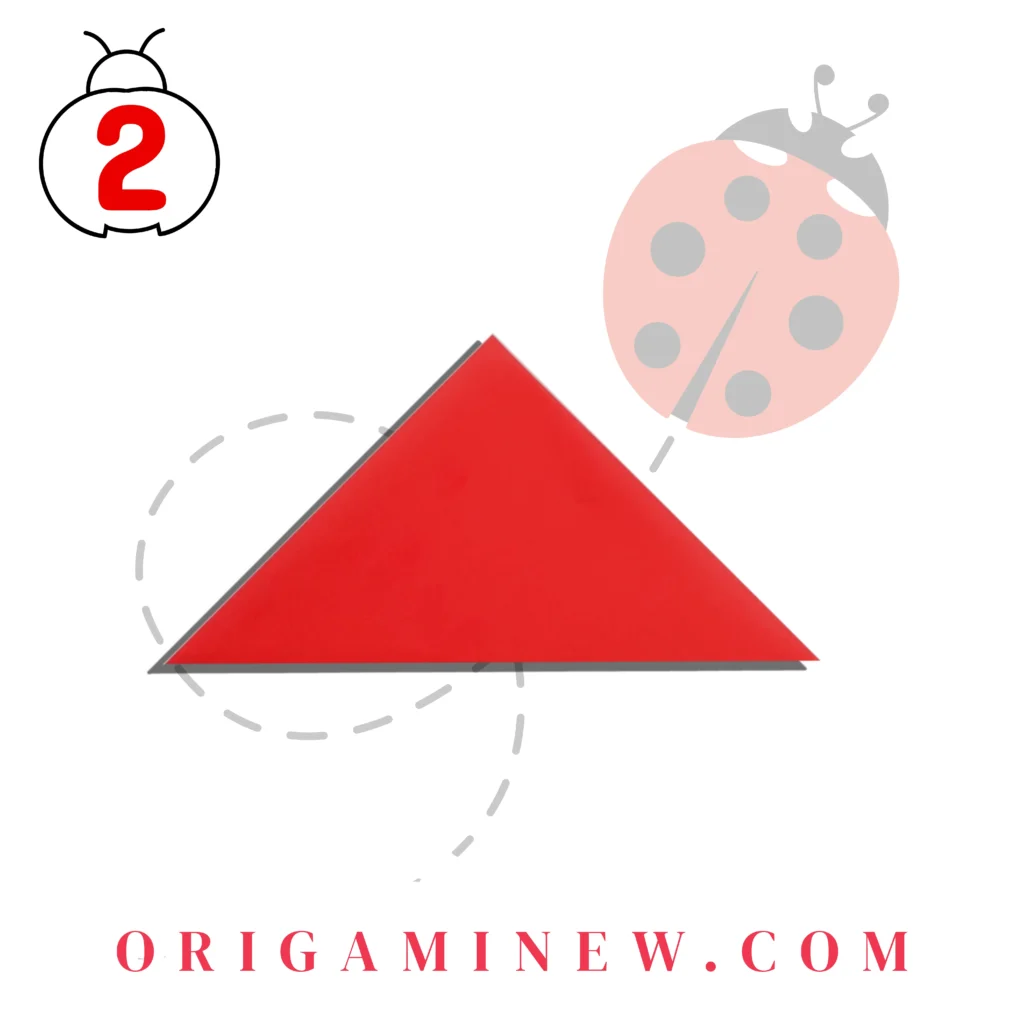
Step 3/4: Then unfold it.

Open the paper back to its original square shape. You should now have a visible diagonal crease running from one corner to the opposite corner. This crease will serve as an important reference point for subsequent folds.
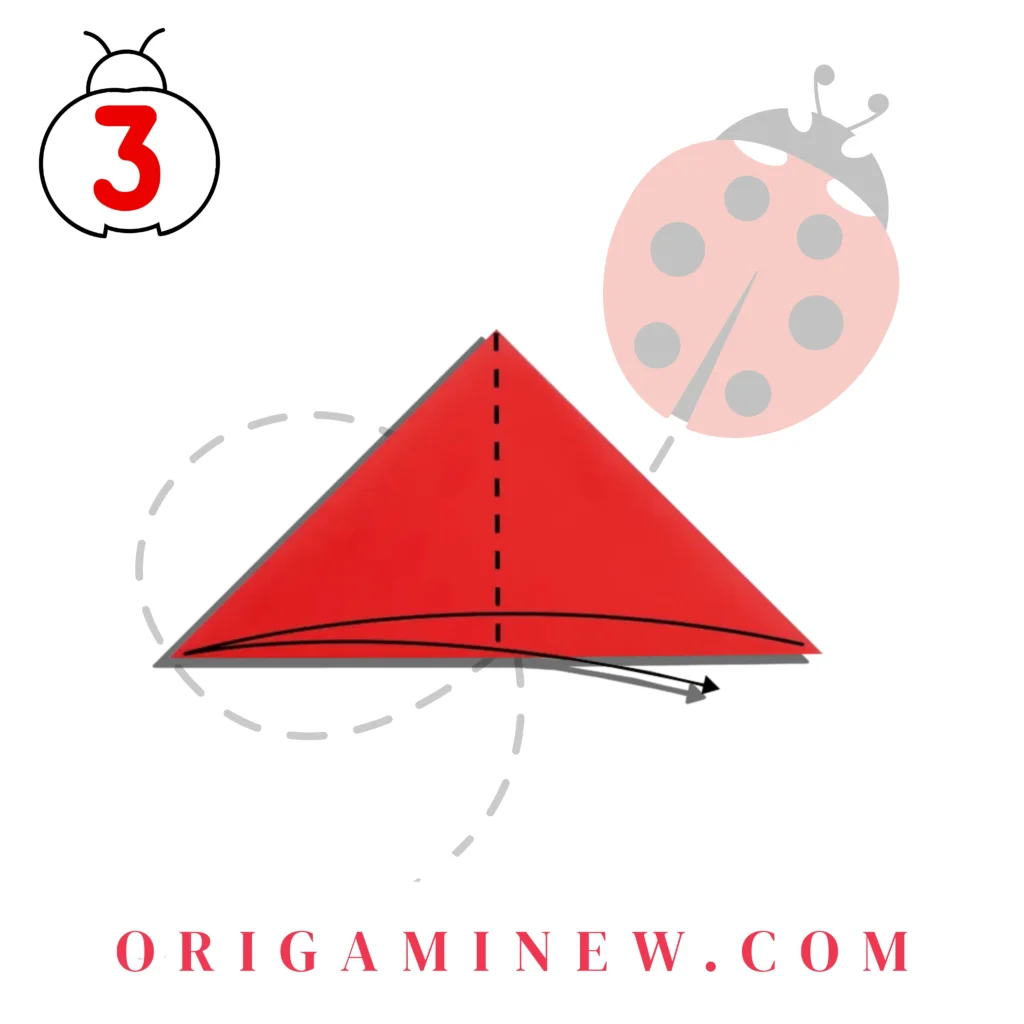
Step 5/6: Fold both the left and right corners up at an angle that is far away from the top corner.

Take the left corner of your square and fold it upward at approximately a 45-degree angle, ensuring it doesn’t reach all the way to the top corner. Repeat this action with the right corner, maintaining symmetry between both sides. These folds will eventually form the wings of your ladybird.
Key detail: The distance between these folded corners and the top corner will determine the size of your ladybird’s head, so adjust according to your preference.
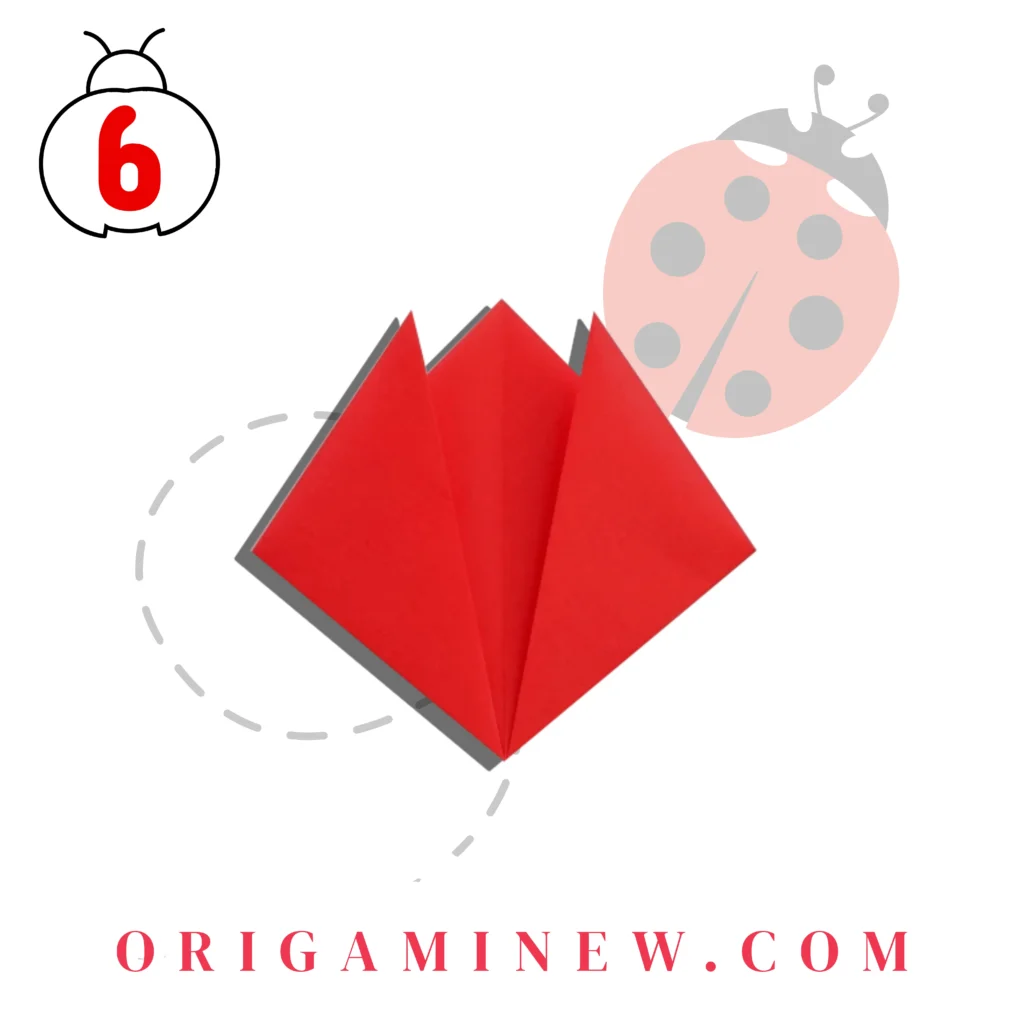
Step 7/8: Fold the bottom corner up a little.

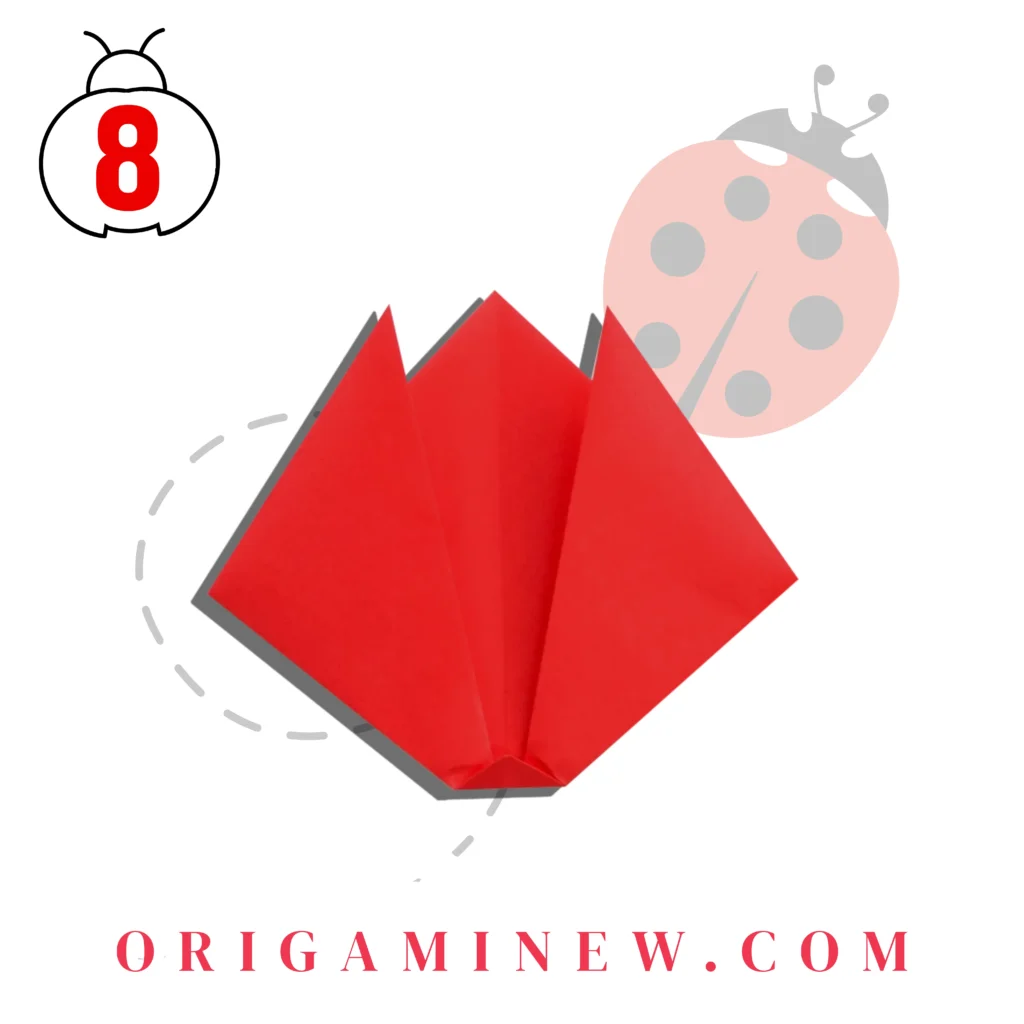
Now, take the bottom corner of your paper and fold it upward slightly—about one-quarter of the way up the paper. This fold helps create the base of the ladybird’s body and gives it dimension.
Step 9/10: Then fold the bottom edge up a little.


Take the bottom edge that you just created in the previous step and fold it up again, just slightly. This smaller fold adds thickness to the bottom part of the ladybird’s body, creating a more three-dimensional appearance.
Step 11: Flip it over.

Carefully turn your model over so that the side with the most visible creases is facing down. You should now see the beginning shape of your ladybird taking form, with the outline of wings becoming apparent.
Step 12/13: Fold the top corner down a little, and fold both the left and right corners a little toward the center.
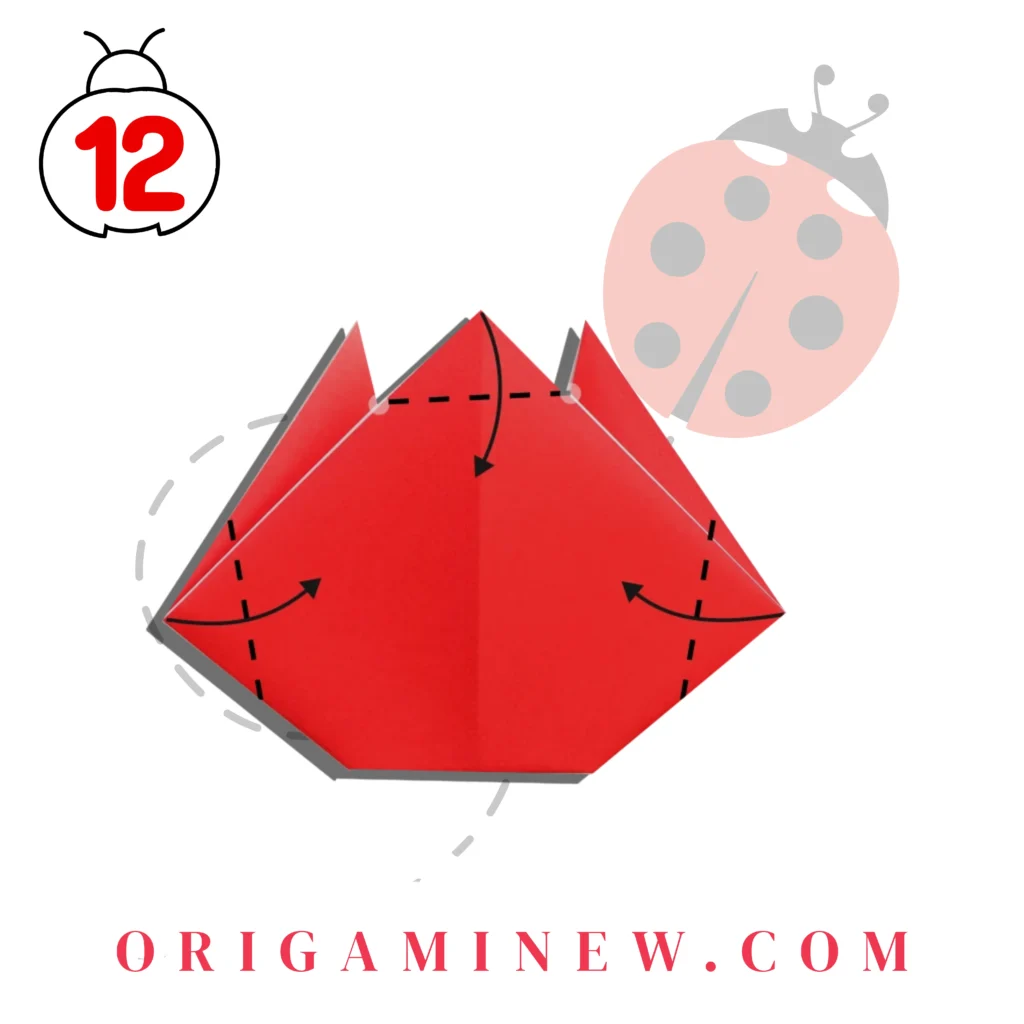

Fold the top corner down slightly to form the ladybird’s head. Then, take both the left and right corners and fold them inward slightly toward the center line. These folds help define the shape of the wings and give your ladybird a more realistic appearance.
Important note: These folds should be subtle—just enough to create definition without drastically changing the overall shape.
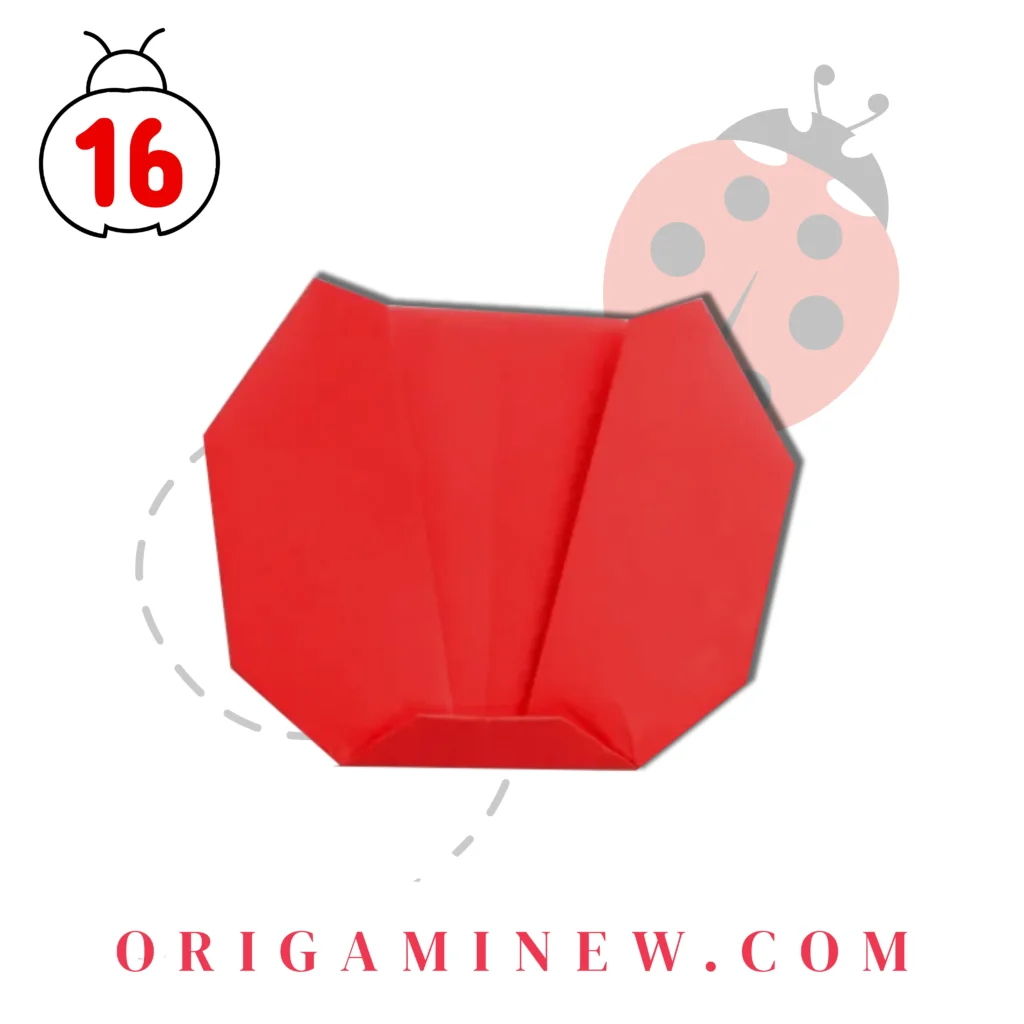
Step 14/15: Fold the left and right corners on the top down to align with the left and right slanted edges.


Now, look at the top portion of your model where the wings are forming. Fold the left and right corners down so they align with the slanted edges created in previous steps. This fold helps to complete the wing structure and gives your ladybird its characteristic rounded appearance.
Step 16: Flip the model over, and draw some black spots on the wings, two small spots for its eyes.
Turn your completed origami ladybird over once more. Using your marker or pencil, add the classic ladybird spots to the wings—traditionally black dots scattered across the red background. Don’t forget to add two small spots at the front for eyes, giving your creation personality and character.
Tips for Perfect Execution
Creating a flawless origami ladybird requires attention to detail. Here are some additional tips to ensure your creation stands out:
- Precision matters: Take your time with each fold, ensuring clean lines and sharp creases.
- Paper quality affects results: Thinner paper works better for intricate folds, while thicker paper holds shape better.
- Color creativity: While traditional ladybirds are red with black spots, feel free to experiment with different colored papers for unique variations.
- Size considerations: Larger paper squares (6×6 inches or more) make the process easier for beginners.
- Practice makes perfect: If your first attempt isn’t perfect, try again! Each repetition will improve your technique.
Common Mistakes to Avoid
Even experienced origami artists encounter challenges. Here are some common pitfalls to watch out for:
- Asymmetrical folds: Ensure both wings are folded at the same angle for a balanced appearance.
- Rushing through steps: Each fold builds upon the previous one, so take your time with each step.
- Ignoring crease lines: Prior creases serve as roadmaps for subsequent folds—pay attention to them.
- Overcomplicating the design: The beauty of this origami ladybird lies in its simplicity.
Variations to Try
Once you’ve mastered the basic ladybird, consider these creative variations:
- Create a family of ladybirds in different sizes
- Experiment with patterns beyond the traditional spots
- Try folding with specialty papers like washi or metallic sheets
- Add small details like antennae using thin strips of paper
Displaying Your Origami Ladybird
Your completed origami ladybird makes for a charming decoration. Consider these display ideas:
- Place it on a windowsill or desk as a cheerful accent
- Attach string to create hanging ornaments
- Group multiple ladybirds together for a whimsical garden scene
- Use them as unique gift toppers or greeting card embellishments
Conclusion
Mastering the art of folding an origami ladybird is both satisfying and rewarding. By following these nine crucial steps and paying attention to the details, you’ll create a charming paper creature that showcases your patience and craftsmanship. Remember that origami is as much about the journey as the destination—each fold is an opportunity to practice mindfulness and precision.
Whether you’re crafting with children as an educational activity or pursuing origami as a personal hobby, this ladybird design offers a perfect blend of simplicity and charm. Happy folding!
Resources for Further Learning
For those interested in expanding their origami skills beyond the ladybird:
- The Origami Resource Center (origami-resource-center.com)
- OrigamiUSA (origamiusa.org)
- “Origami Design Secrets” by Robert J. Lang
- “The Complete Book of Origami” by Robert J. Lang
Remember that the joy of origami comes not just from the finished product, but from the peaceful process of transformation—turning a simple square of paper into something delightful through nothing but folds.